
How to Plan Your First LiFePO4 Battery Setup for Camping
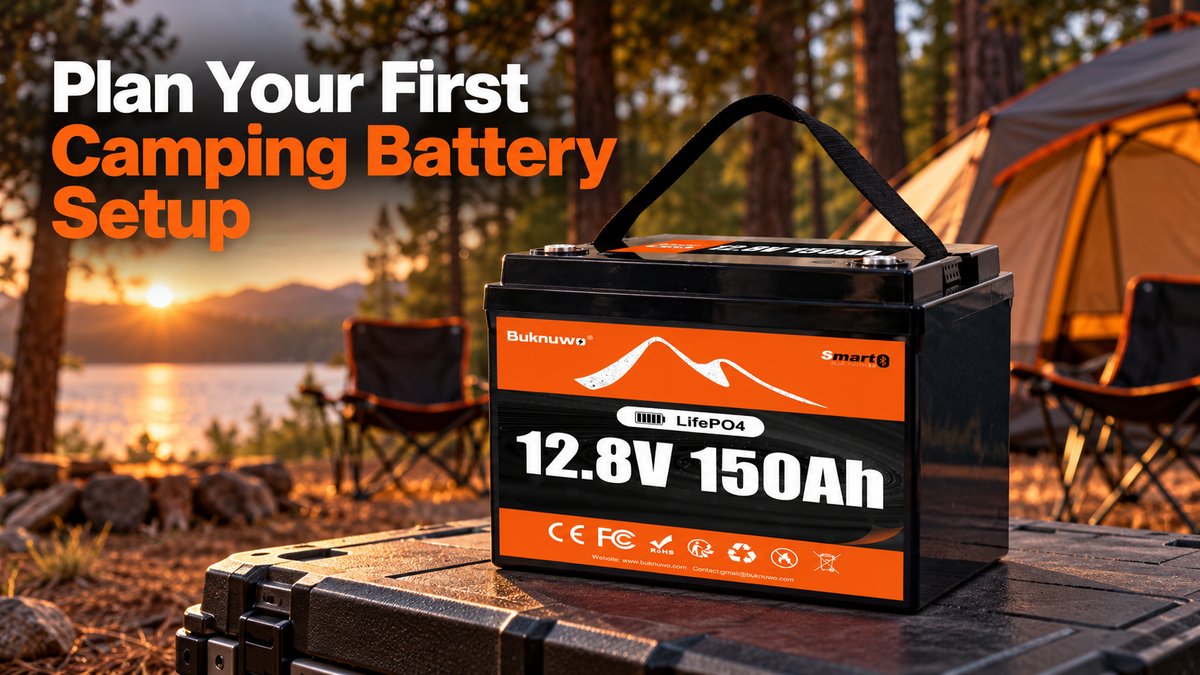
Quick answer: Plan your first LiFePO4 battery setup for camping by listing your equipment, estimating energy use until the next reliable charge, checking voltage and current compatibility, and choosing an appropriate battery, protected distribution system and charger. Start with the essentials and test the complete setup at home before your first trip.
A camping battery should fit the way you travel. A drive-in campsite with nightly charging is different from two nights in a remote clearing. This beginner’s guide focuses on compatible 12V equipment, such as a portable fridge, LED lights, fans and approved USB charging accessories.
1. Understand what you are buying
A standalone LiFePO4 battery stores energy. It does not automatically include USB sockets, regulated accessory outputs, a solar controller or a mains charger. A portable power station generally combines a battery with some of those functions, depending on the model.
If you choose a standalone battery, plan the supporting equipment as part of the purchase. Do not connect phones directly to battery terminals. Use correctly rated, protected accessories that provide the voltage and charging protocol each device requires.
BUKNUWO deep-cycle batteries discussed here are not engine-starting batteries. Do not use your camping battery to jump-start a vehicle or replace its approved starter battery.
2. Make a short camping equipment list
Separate essentials from optional comforts. Your first setup might support a fridge, a lantern and phone charging. A fan or an additional light can come later once you know your actual consumption.
- Portable fridge: find its measured daily energy use under relevant conditions. Its compressor does not necessarily run continuously.
- LED lights: record the total power and evening operating hours.
- Fan: estimate hours at your preferred speed.
- Phone and camera charging: include charging-accessory losses and the number of recharge cycles you expect.
Check every device’s full input-voltage range. A nominal 12V LiFePO4 battery changes voltage during charging and discharge. Some equipment requires a regulated supply rather than a direct battery connection. Check plug ratings and polarity as well as voltage.

3. Estimate energy through the next charging opportunity
Watt-hours make different devices easier to compare. Use the manufacturer’s energy figures or measurements from a suitable meter. The table below is a hypothetical planning example, not a BUKNUWO battery test or a claim about any particular appliance.
| Equipment | Illustrative daily assumption | Energy |
|---|---|---|
| Portable fridge | Assumed measured daily consumption | 350Wh |
| LED lights | 10W total for 4 hours | 40Wh |
| Fan | 15W for 6 hours | 90Wh |
| Device charging | Allowance measured at battery side | 60Wh |
| Daily total | Before additional reserve and system losses not already counted | 540Wh |
Two similar days without recharging would use 1,080Wh before additional allowances. A 12.8V 100Ah battery has 1,280Wh of nominal energy, but nominal energy is not a promise of energy delivered to your equipment. Usable capacity, conversion losses, temperature and your reserve policy affect the practical result. The difference between those two figures should not automatically be treated as sufficient reserve.
For the example above, compare a larger capacity, reduce optional loads or arrange reliable charging. Fridge consumption can change with weather, ventilation, temperature setting and lid opening. Measure your own fridge before depending on an estimate.
4. Choose capacity that matches your trip and carrying needs
A 100Ah model can be a candidate for a modest verified load with an appropriate charging schedule. Compare 150Ah when a smaller option leaves too little reserve. Assess 314Ah for longer stays or higher verified energy use when its weight and dimensions suit your transport and installation.
Larger capacity is not automatically a better portable setup. Check the exact model’s weight, handles, dimensions and mounting instructions. Consider whether you can lift it comfortably, where it will travel and how it will be restrained. A large battery that stays in a vehicle is a different choice from one carried between a car and a tent.
Browse the BUKNUWO 12V LiFePO4 battery range, then confirm the current specifications for the exact version you intend to buy. Capacity alone does not establish output current, weather resistance or included accessories.
5. Check current output and startup demand
Your battery, cables, distribution equipment and connectors must support the loads that can run simultaneously. Check the battery’s continuous discharge rating separately from its capacity.
A fridge compressor or pump can briefly demand more current when it starts. Check documented startup current and duration against the complete supply path. Do not assume a battery’s advertised peak rating lasts long enough, or that a small accessory socket supports the same current as the battery.
Use a distribution system with properly selected circuit protection and suitable connectors. The battery’s BMS does not replace external overcurrent protection. Fuse selection depends on conductor protection, device instructions, installation and fault-current capability; there is no universal fuse size for a “100Ah camping setup.” Have the installation designed or checked by someone qualified if this is unfamiliar.
6. Pick one dependable charging method first
For many first trips, charging at home with an approved LiFePO4 charger is the simplest starting point. Verify its voltage profile, current, connector arrangement and compatibility with the battery’s manual. Allow enough time before departure.
For solar charging, use a compatible MPPT controller with appropriate battery settings. Check the panel’s cold-weather open-circuit voltage and current against the controller’s input limits, and check its output against the battery’s charging limits. Do not connect a panel directly to a bare battery. Follow the controller’s specified connection sequence.
Vehicle charging requires a system specifically approved for the vehicle and battery, often involving a suitable DC-DC charger. Do not assume a vehicle accessory socket or alternator connection will provide safe, effective charging. Plan vehicle charging with the relevant equipment instructions.

7. Plan for real campsite conditions
Protect the battery and electrical equipment from rain, standing water, dirt and accidental contact with metal objects. Use a stable, secured location that meets the manufacturer’s ventilation and clearance instructions. Do not assume an enclosure makes a battery submersible or suitable for direct exposure.
For spring and autumn camping in the United States or Canada, check the battery’s temperature before charging. Follow the exact model’s permitted charging range. Low-temperature charge cutoff and battery heating are different functions; confirm which, if either, your model provides. Do not bypass temperature protection.
Secure the battery during transport and cover exposed terminals. Keep equipment away from cooking heat and campfires. A tent or vehicle can become much hotter than the shaded outdoor air, so consider the actual storage location.
8. Test at home and keep the first trip simple
Run your planned equipment for a realistic day before leaving. Record consumption, starting behavior, connector condition and charge time. Use suitable monitoring equipment and investigate abnormal heat, damaged cables or unexpected shutdowns before the trip.
If the battery supports Bluetooth, check what the app actually reports. State-of-charge readings depend on the system and calibration; they are planning aids, not guaranteed remaining runtime. Keep some reserve and avoid making essential communication depend on one battery connection.
After the trip, follow the battery manual’s storage guidance. Disconnect unnecessary loads using the approved arrangement and account for standby consumption. Inspect and charge as instructed rather than leaving the system unattended indefinitely.
Your first camping battery shopping checklist
- Exact battery model with current documentation.
- Compatible charger and, if needed, solar controller or vehicle charger.
- Appropriately designed distribution, disconnect and circuit protection.
- Correctly rated cables, terminals and device connectors.
- Suitable restraints, terminal covers and environmental protection.
- A realistic energy budget, charging plan and reserve.
For help comparing options, send BUKNUWO support your equipment list, trip length, charging opportunities and carrying or installation constraints. Those details make capacity selection much more useful.
Frequently asked questions
Is a 100Ah LiFePO4 battery enough for camping?
It may be, depending on your equipment, usable capacity, reserve and time between charges. Compare a measured energy budget with the exact battery specifications.
Can I plug camping appliances straight into the battery?
Only through an appropriate protected connection when the device permits the battery’s full voltage range. USB equipment needs a suitable conversion accessory.
Do I need solar for my first camping setup?
No. A fully charged battery may meet a short trip’s verified needs. Add solar when replenishment is necessary and the site has suitable sun exposure.
Can I charge while running my fridge?
Confirm that the battery, charger and distribution arrangement allow simultaneous operation. Equipment consumption reduces the net energy available to recharge the battery.
Can I use the camping battery to start my car?
No. The BUKNUWO deep-cycle batteries discussed here are not engine-starting batteries.
What should I check before upgrading capacity?
Check measured energy use, charging capability, current requirements, installation space and transport weight. More capacity will not correct incompatible equipment or poor connections.